Introduction
The Arduino Due is a 84 MHz cortex M3 with good (if complicated) i/o. The Arduino library simplifies the i/o interface to a level appropriate for using the Arduino has a tool to teach biomedical techniques. There is enought cpu speed to implement the analysis backend for biomedical analysis, as well as display the data in a scope-like and/or text format.
Due-specific libraries
Applications
TV oscilloscope
The VGA/NTSC library generates a nice television (NTSC) signal for display on cheap monitors. This device samples at 240 samples/second and displays 1.3 second and 5 sec duration waveforms scrolling at two different rates. The sample rate is slow because of the real-time refresh required by the TV. The slower waveform is a lowpass filtered vrsion of the fast waveform. The program was written completely in Arduino library, with no extensions, except for the scheduler and NTSC interface mentioned above. A short video shows a 1.5 Hz triangle wave scrolling. The program is here. Two slow scheduler tasks blink the virtual LED on screen and update time.
Connection to the TV:
Due pin 36 -> 3k3 resistor -> connectionA
Due pin 37 -> 1k6 resistor -> connectionA
Due pin 38 -> 820R resistor -> connectionA
Due pin 39 -> 390R resistor -> connectionA
Due pin 40 -> 200R resistor -> connectionA
Due pin 41 -> 100R resistor -> connectionA
Due pin GND -> Video GND
100uF capacitor between connectionA and TV Video Input.
TFT display oscilloscope
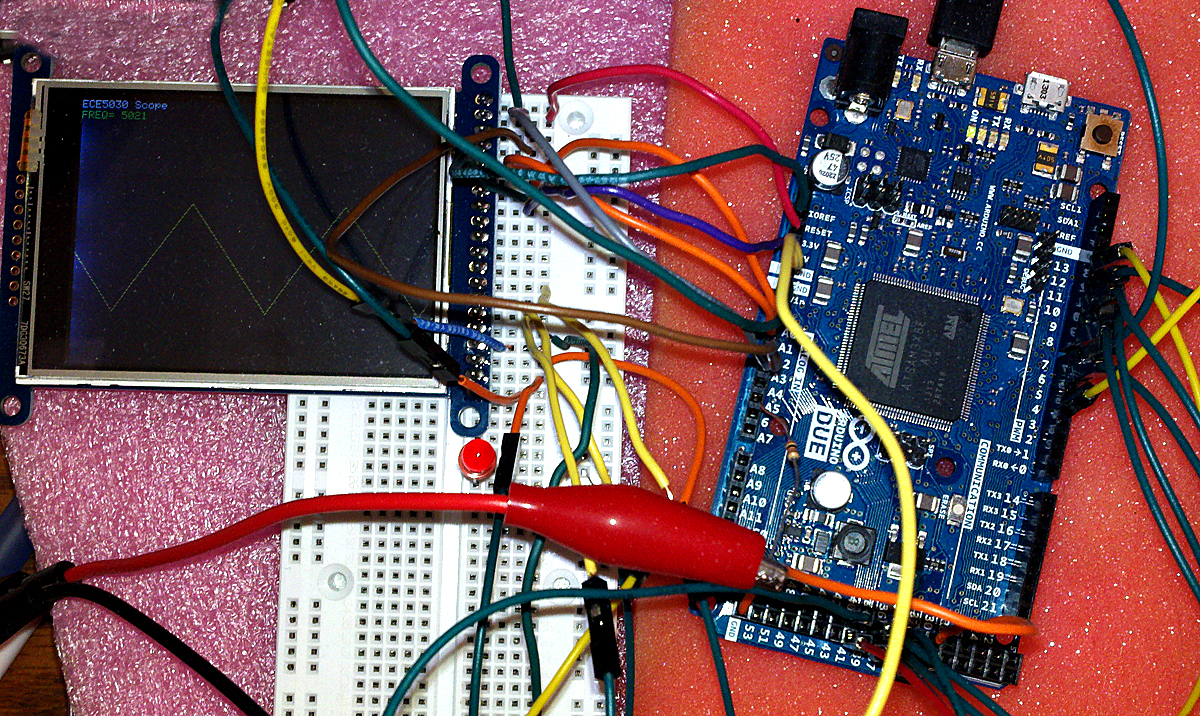
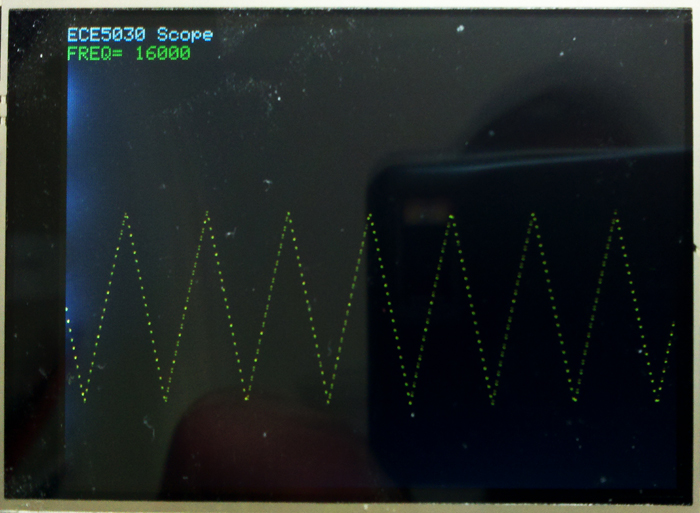
The arduino library supports A/D conversion at about 13 KHz, not fast enought for a useful audio-rate oscilloscope. Rewriting the acqusition loop to directly access the ADC reqisters speeds up conversion (including loop overhead) to about 688,000 samples/sec, a considerable improvement. The sampling loop becomes quite short. If we define registers and constants as follows:
#define ADC_MR * (volatile unsigned int *) (0x400C0004) /*adc mode word*/
#define ADC_CR * (volatile unsigned int *) (0x400C0000) /*write a 2 to start convertion*/
#define ADC_ISR * (volatile unsigned int *) (0x400C0030) /*status reg -- bit 24 is data ready*/
#define ADC_ISR_DRDY 0x01000000
#define ADC_START 2
#define ADC_LCDR * (volatile unsigned int *) (0x400C0020) /*last converted low 12 bits*/
#define ADC_DATA 0x00000FFF
Then the sample loop becomes:
ADC_CR = ADC_START ;
  for (i=0; i<320; i++){
    // Wait for end of conversion
    while (!(ADC_ISR & ADC_ISR_DRDY));
    // Read the value
    analog_data[i] = ADC_LCDR & ADC_DATA ;
    // start next
    ADC_CR = ADC_START ;
  }
For TFT display connections, look at the Adafruit tutorial, and consult the source code above. I used the following with the line//#define USE_ADAFRUIT_SHIELD_PINOUT in the file Adafruit_TFTLCD.h commented out.
// The control pins for the LCD can be assigned to any digital or
// analog pins...but we'll use the analog pins as this allows us to
// double up the pins with the touch screen (see the TFT paint example).
#define LCD_CS A3 // Chip Select goes to Analog 3
#define LCD_CD A2 // Command/Data goes to Analog 2
#define LCD_WR A1 // LCD Write goes to Analog 1
#define LCD_RD A0 // LCD Read goes to Analog 0
#define LCD_RESET A4 // Can alternately just connect to Arduino's reset pin

// With shield defined (from pin_magic.h)
// LCD Data Bit :    7    6    5    4    3    2    1    0 (LCD data pin)
// Due pin #    :    7    6   13    4   11   10    9    8 (board pin #)
A minor rewrite displays the frequency of the periodic input wave every second.


References
DueVGA: Arduino Due VGA and TV library, Stimmer (local copy)
https://github.com/stimmer/DueVGA
Atmel AT91SAM ARM-based Flash MCU datasheet section 44.7
www.atmel.com/Images/doc11057.pdf