

High Level Design
The Cooking Coach consists of the 320x200 pixel Seiko 321D LCD display, an ATMEL AT90s8515 MCU, a serial connection, and 7 push buttons. The user interface consists of a series of menus that group the Cooking Coach's functions into relevant blocks. Four push buttons serve as soft keys, two control the scrolling action, and the last button acts as an automatic shut-off for all appliance controls. When the unit is turned on, the main menu appears. From this menu, the user can choose either:Menu Construct
- the Options Menu
- to Generate List
- select a recipe
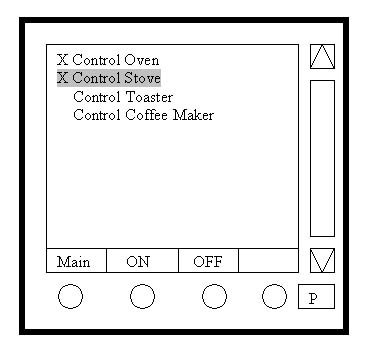
- Options Menu
These controls can be turned on or off.
- Control Oven
- Control Stove
- Control Toaster
- Control Coffee Maker
Button 1 = Main Menu, Button 2 = On,
Button 3 = Off
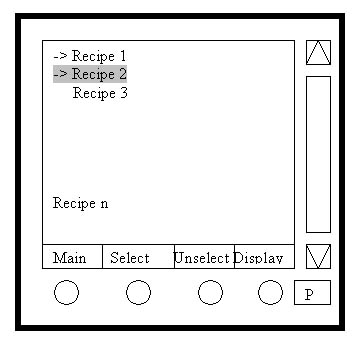
- Shopping List
Select the recipes for which you want to generate lists.
- recipe 1
- .....
- recipe n
Then display the shopping list.
Button 1 = Main Menu, Button 2 = Select,
Button 3 = Unselect, Button 4 = Display
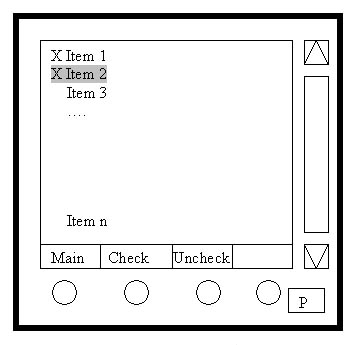
In Display mode
Check off the items as you pick them up.
- item 1
- ...
- item n
Button 1 = Main Menu, Button 2 = Redo List,
Button 3 = Check, Button 4 = Uncheck
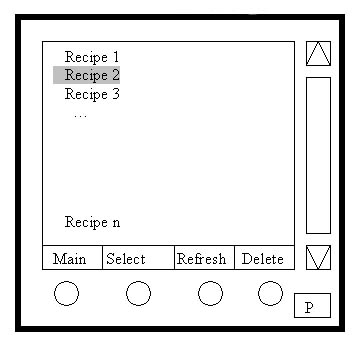
- Select Recipe
Scroll to the recipe you wish to cook and press select
- recipe 1
- ...
- recipe n
Button 1 = Main Menu, Button 2 = Select,
Button 3 = Refresh, Button 4 = Delete
In Select mode
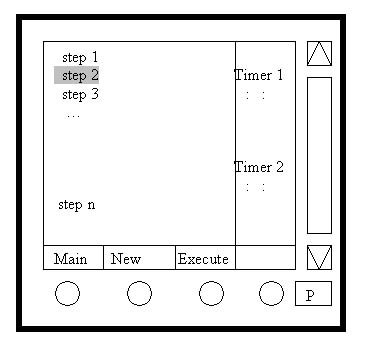
Scroll through the steps as you execute them.
- step 1
- ...
- step n
When you arrive at a step that requires an action (e.g. preheating the oven) Button 3 will be the execute key. Once the action occurs, Button 3 will clear.
When you arrive at a step with a timing function, Button 3 will control the start of Timer 1 and Button 4 will control the start of Timer 2.
Button 1 = Main Menu, Button 2 = New,
Button 3 = Execute/Timer 1, Button 4 = Timer 2
Timing
The timing sequences are tied to specific actions. Therefore, the end of a timing cycle is used to determine when to change an appliance setting or ring a buzzer.


