2 OpenGL/Visual C++ |
| Abstract |
| Usage |
| Design |
| Results |
| Extended Features |
| Future Direction |
| Appendix |
| Acknowledgements |
| References |
Table of Contents:
2.1 The GLUT FrameworkAs a starting point in learning OpenGL, I needed a window management framework in order to begin rendering the images to the screen. Using the GLUT library allowed maximal abstraction of the window system, and gave me the ability to focus primarily on OpenGL programming. Although GLUT has its limitations, it enabled creation of a window (titled as 'Spider' for this project) and supported GLUT callbacks in response to keyboard presses, mouse clicks, resizing of the window and timer functions. Used in conjunction with FindWindow() and SetFocus() (Win32 APIs), the GLUT framework allows for control of the 'Spider' window when rendering scenes. That is, if no spider window is present on the system, then it needs to be created. However, if one is already present on the system, then the animation or scene modification needs to appear as if it is happening in the same window. This is essential when the spider GUI is used to change the parameters of the spider image or motion. The following code illustrates how the GLUT window is found or created:
	HWND hwnd;
	...
	hwnd = FindWindow("GLUT", "Spider");
	if(hwnd != NULL)
		SetFocus(hwnd);
    	else
		glutCreateWindow("Spider");
In order to reflect morphological changes or animation, the current window had to be redisplayed. This is done by making calls to the following functions:
	glutPostRedisplay();
	glutSwapBuffers();
The first function, glutPostRedisplay(), refreshes the drawing and is needed after every callback is triggered. The latter function makes use of double buffering in the glut library. Double buffering allows rendering of drawings to be done in a separate buffer. When the drawing is complete, a call to glutSwapBuffers() will place the offscreen drawing into the onscreen buffer. This allows partial drawings to be invisible to the viewer and for smoother animation to occur. To initialize double buffering, the following function call is needed in the beginning of the program:
glutInitDisplayMode(GLUT_DOUBLE | GLUT_RGB);
Window Callbacks correlate with window changes indicated by the user (e.g., mouse clicks or key presses) or when input is available for the window. Callbacks that are done in this program include the following:
	glutReshapeFunc(ChangeSize);	// enable resizing of window
	glutMouseFunc(Mouse);		// detect mouse clicks
	glutSpecialFunc(SpecialKeys);	// detect arrow key presses
	glutDisplayFunc(RenderScene);	// render spider
Therefore, although most user control is located at the level of the 'Spider GUI' window (see Matlab GUI section for details), there are a few manipulations that can be controlled within the rendered 'Spider' window itself. The user controls located here are as follows: Special Keys: Global callbacks correlate with the tracking of time. In this case, a timer was needed to estimate performance of OpenGL rendering on the systems. Thus, in the final product, the following call is commented out:
glutTimerFunc(DELAY, timing, 0); 2.2 Object Composition and Modeling
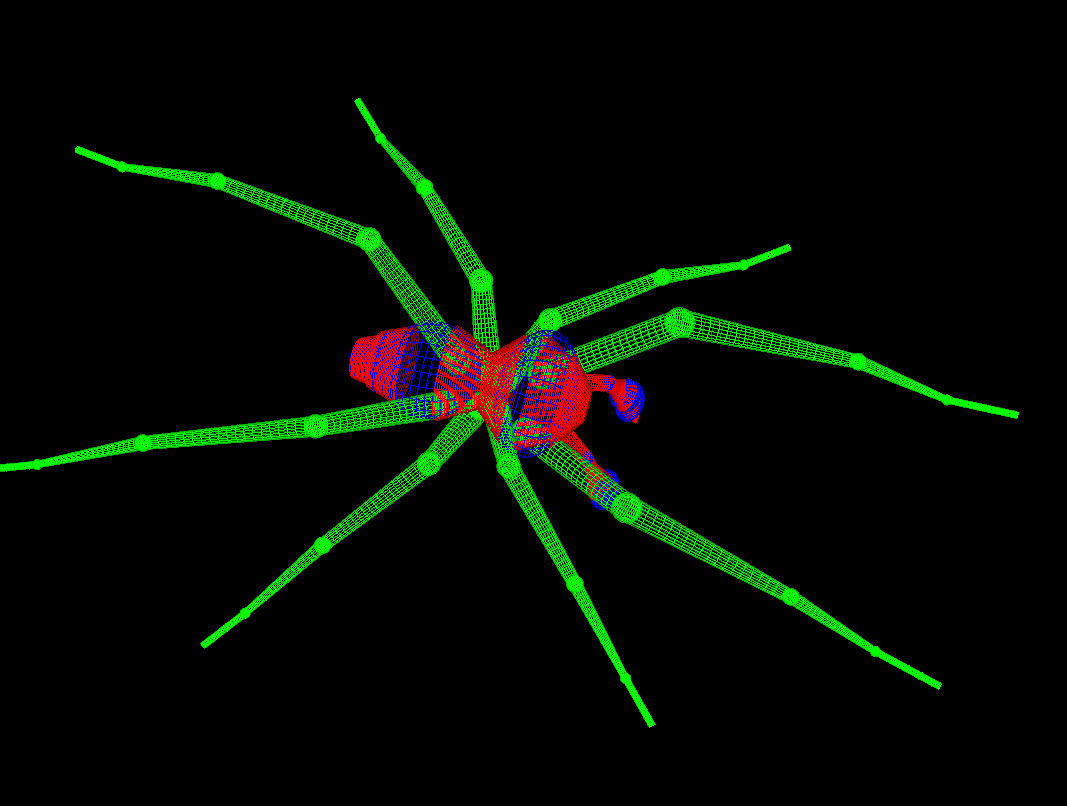
2.2.2 Hierarchical Modeling
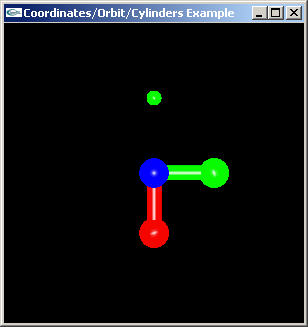
2.2.3 Creating the Geometry: Quadrics
2.3 Color, Lighting and MaterialsI wanted to give the user control of all aspects of the spider. Therefore, in order to make the color of each individual body segment adjustable, I had to make many calls to glColor3f() throughout the code (i.e., prior to each rendering of a body or leg segment).
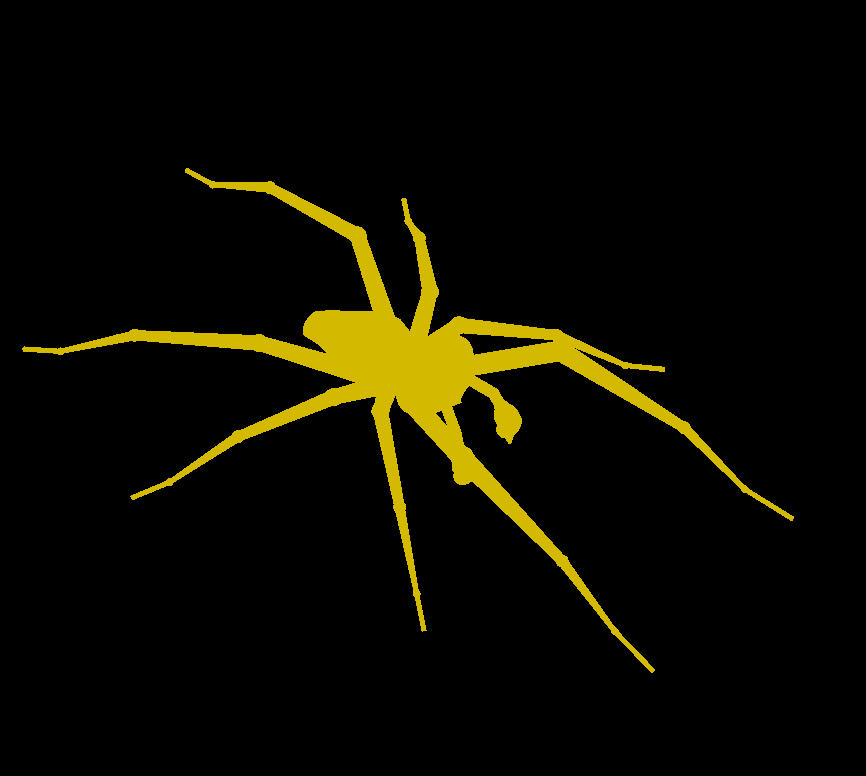
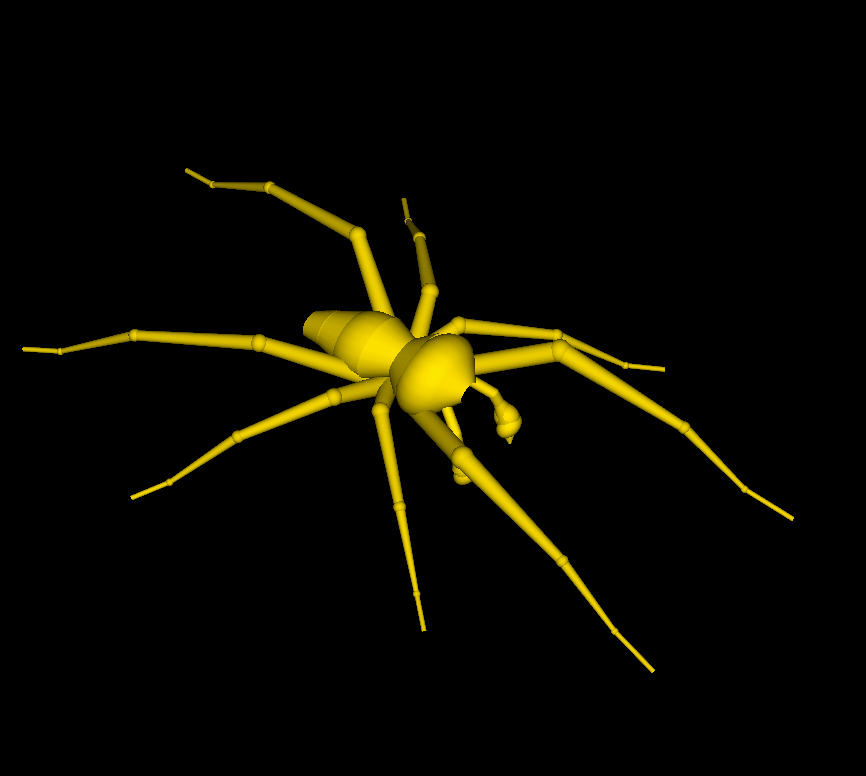
There are 3 types of lighting to consider when rendering an object: Of the 3 light sources, ambient light is the only one that is directionless. It is light that comes from rays bounced around the room. Therefore, a strong ambient light (with no diffuse or specular lighting), will result in the image shown on the left below (notice the lack of dimension that results from such a case). Diffuse light, on the other hand, reflects evenly off a surface, resulting in the 2nd image below. Lastly, specular lighting requires a light source. It is reflected sharply and uniformly as shown in the rightmost image below. I allow the user to control all aspects of lighting even though it is apparent that values in certain ranges will produce quite unrealistic results. However, across different hardware, OpenGL may render the lighting differently. Giving the user full control will allow them to adjust to the proper settings.
2.4 AnimationIn order to achieve spider animation, the leg movements needed to be redisplayed in every time step. This required further enhancements to the individual angles between the leg segments. In addition, a timeStep variable was needed to know when the leg was back at rest and the animation needed to be restarted. Therefore, the following parameters tracked new angles between the leg segments and the time steps: int timeStep = 0; int max_timeStep = 120; // tracks timeSteps GLfloat newrf_ang1 = rf_ang1; GLfloat newrf_ang2 = rf_ang2; GLfloat newrf_ang3 = rf_ang3; GLfloat newrf_ang4 = rf_ang4;In addition, I wanted this animation to be interactive. Therefore, I allowed the user to start and stop the animation through a mouse click. See GLUT Callbacks section for details on how to control movement of the spider. |